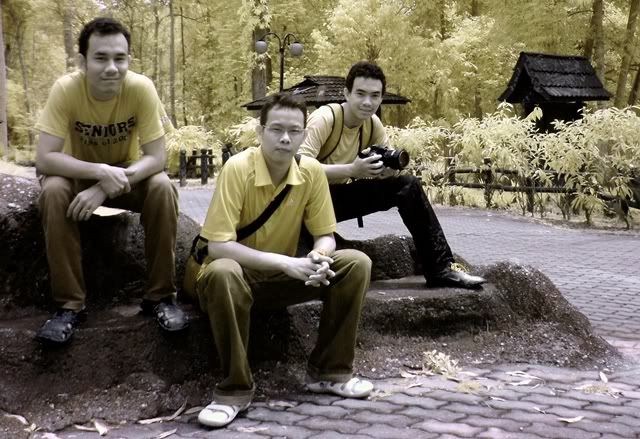
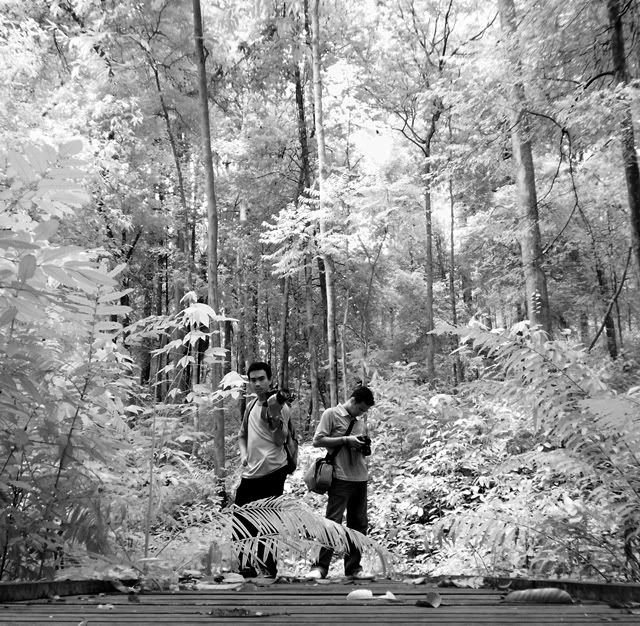
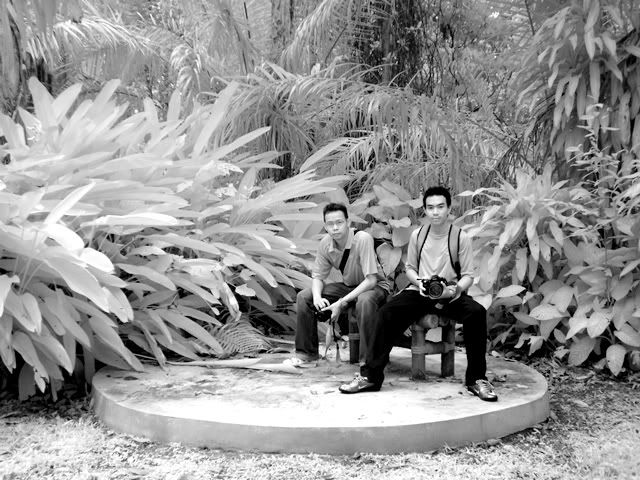
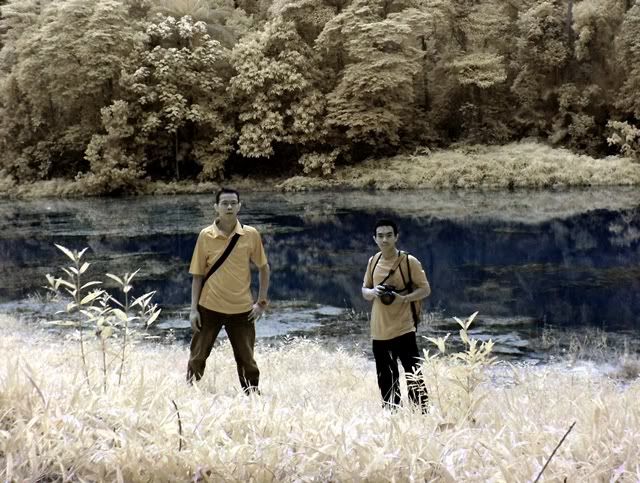
Many photographers specialize in black and white photography due to its sheer power, elegance and beauty. However, it is important to note that black and white photography is not simply color photography with black and white film (or a black and white digital setting). Black and white photography has its own set of rules that it needs to abide by. Black and white photography, since it is colorless, needs to find other ways to set moods.
Tones are the most important element of black and white photography. As humans we don't really think about the world in tonal ranges. For us when we see light blue and then we look else where and see yellow, we are in fact seeing two different colors. However, when you take a black and white photograph with light blue and yellow in the same frame, the camera may not actually communicate the difference to your viewers since the colors have almost the exact same grey tone.
Therefore as a black and white photographer you have the extra responsibility to think about how the world looks in tones. You need to think about the whiteness of whites and the darkness of darks (known as tonal range). You need to see colors as tones, and your shadows will not become more intimate parts of your photographs. Likewise, you can use colors to help draw emphasis to a subject or idea anymore, now you will need to find other ways to draw emphasis to the main subject or smaller details within the photograph.
To make sure you are not disappointed with your black and white photography, you need to get a good grasp of this concept called "tonality," and how to master it using shadows and light. Let's start by discussing tonal range.
What is Tonality?
Think about a white ball on a white background and a circular piece of paper on the same background. If there is no directional lighting, there will be no shadows or highlights, and so there will be no visible difference in either object. There is no range of tones.
Add some light, create some shadows and the difference in the resulting tones is really visible. There is a reflection on the ball, some highlights, and of course, a shadow.
You can clearly see that the ball is three dimensional, while the cut out is flat. The new tones add more information and more range to the photo.
The range of shades of grey – the tones – have increased, resulting in a more dynamic photograph.
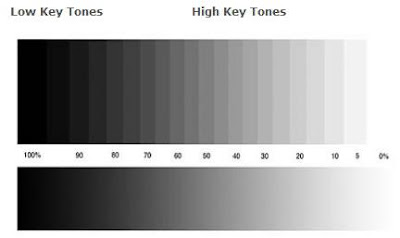
Put simply, the tonal range is the range of tones between the lightest and darkest areas of an image. An image with a wide tonal range will have both Very dark (black) and very light (white) elements within the photograph. An image with a narrow tonal range will be more limited in its tonal scope to mid ranges (varying shades of grays).
Basic Toning Process
The basic toning processes add a single colour to a black and white photo. Common examples are sepia, which can be anything from yellow to deep brown, and blue. More complex toning processes add two colours to the photo, for example blue and copper or sepia and gold. One colour is added to the shadows and the other to the highlights, creating an effect called split toning. This is more time consuming but the end result is often much classier and more professional looking than a single-colour tone.
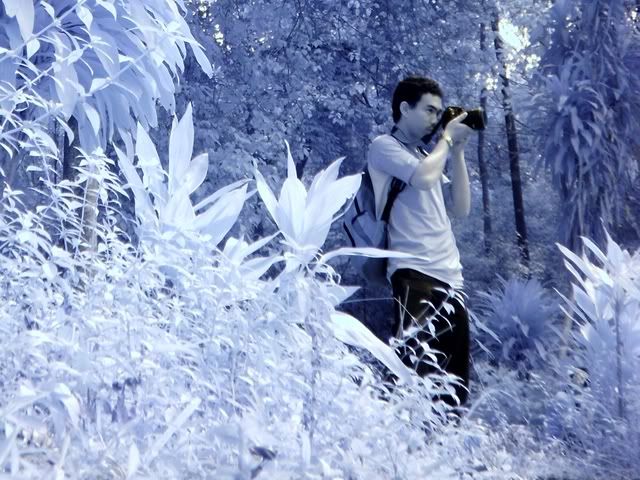
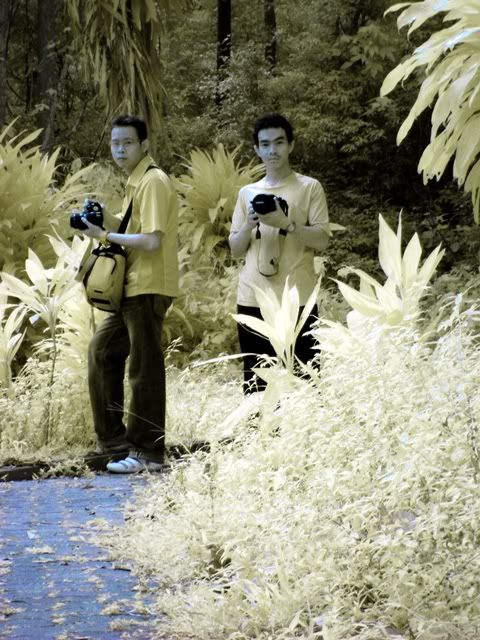
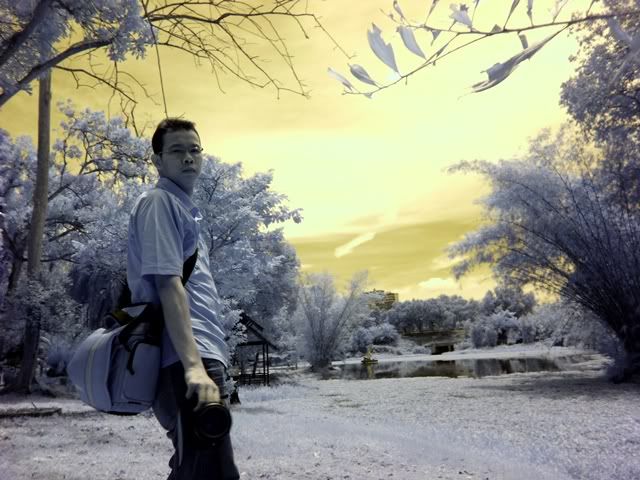
Toning adds emotional value to the black and white photo. Sepia tones are warm and somewhat nostalgic, and are very flattering for portraits of people as well as other subjects like landscapes and nude studies. Portrait studios offer sepia toned black and white images as part of their product range for this reason. Blue tones, on the other hand, impart a cold, desolate feel to the photo and are ideal for subject matter such as winter landscapes where the photographer wants to impart the coldness or remoteness of the environment.
The best toned photos aren’t strong or garish. They can be very subtle, sometimes only slightly changing the neutral black and white tones of the original photo.
To get the best out of these toning techniques, apply them to a photo that you’ve already converted to black and white. Make sure you start with the photos in RGB mode.
credit to Reza Mell for this note..


